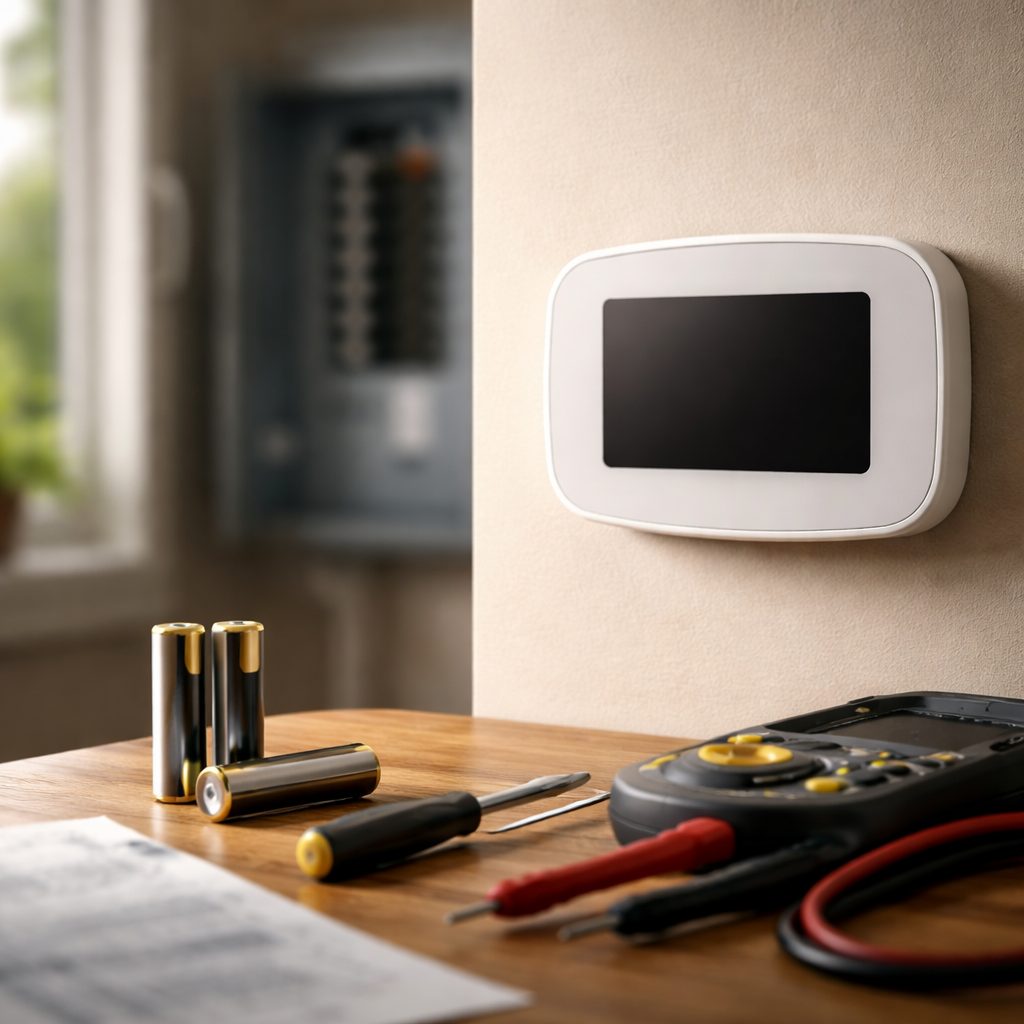
A blank or frozen screen on your heating and cooling system can throw off your entire home comfort routine — and when thermostat display not working becomes your reality at 7 AM on a cold morning, the frustration is very real. Before calling a technician, though, there are several things worth checking yourself, because in many cases the fix is simpler than you’d expect.
Why the screen goes dark: the most common reasons
Thermostat screens don’t just go dark for one reason. The causes range from something as simple as a tripped circuit breaker to a failing internal component. Understanding the category of the problem helps you act faster and smarter.
Most residential thermostats are powered either by batteries, by a dedicated C-wire (common wire) connected to the HVAC system, or by both. When power delivery is interrupted or insufficient, the display is usually the first thing to suffer — it either dims, flickers, or shuts off completely, even when the unit itself might still be partially functional.
- Dead or low batteries — the most frequent cause in battery-operated models
- Tripped circuit breaker or blown fuse in the HVAC system
- Loose or disconnected wiring at the thermostat or the air handler
- A missing or improperly connected C-wire in smart thermostat installations
- Safety float switch triggered due to a clogged condensate drain line
- Internal hardware failure or a damaged display panel
Step-by-step: what to check before calling for help
Working through a logical sequence saves time and prevents unnecessary service calls. Start with the simplest checks and move toward the more technical ones only if needed.
Check the power source first
If your thermostat runs on batteries, replace them — even if they seem relatively new. Some thermostats are extremely sensitive to voltage drops and will shut the display off well before the batteries are fully drained. Use fresh alkaline AA or AAA batteries depending on your model.
For hardwired models, head to your electrical panel and look for any tripped breakers related to your heating or cooling system. A breaker doesn’t always flip to the full “off” position — sometimes it sits in a middle state and still cuts power. Reset it by switching it fully off and then back on.
Inspect the wiring connections
Turn off power to the HVAC system before doing this. Carefully remove the thermostat from its wall plate and look at the wire terminals. A wire that has slipped out slightly or corroded at the terminal can interrupt the signal entirely. Gently reseat any loose wires and tighten the terminal screws.
If you installed a smart thermostat recently and the display went dark shortly after setup, the missing C-wire is almost always the culprit. Smart thermostats draw continuous power and can’t sustain operation on the R-wire alone.
Look at the condensate drain and safety switches
Many HVAC systems have a float switch installed in the condensate drain pan. When the drain becomes clogged and water levels rise, this switch cuts power to the thermostat as a protective measure. Check the drain line for blockages and clear it with a wet/dry vacuum or a condensate cleaning solution if needed.
| Symptom | Likely cause | First action |
|---|---|---|
| Completely blank screen | Dead batteries or tripped breaker | Replace batteries / reset breaker |
| Screen flickers or dims | Low battery voltage or C-wire issue | Replace batteries or check C-wire |
| Display off after smart thermostat install | Missing C-wire | Install C-wire adapter or add C-wire |
| Screen blank after AC use | Clogged condensate drain / float switch | Clear drain line, reset float switch |
| Partial display or frozen screen | Internal hardware or software fault | Factory reset or contact support |
Smart thermostat display issues: a separate conversation
Smart and Wi-Fi enabled thermostats have their own set of display-related quirks. Beyond power issues, software glitches can cause the screen to freeze, display incorrect information, or go unresponsive to touch. In these cases, a soft reset — usually done by holding a specific button combination or pulling the device off its base for 30 seconds — often restores normal function.
Some models also have a screen timeout or sleep mode feature that dims the display after a set period of inactivity. Before assuming something is broken, simply tap the screen or press any button. If the display wakes up, you may just need to adjust the screen timeout settings in the thermostat’s menu.
When a DIY fix isn’t enough
If you’ve gone through every check — batteries, breaker, wiring, drain line, reset — and the screen still won’t respond, the thermostat itself may have a failed display component or internal board. At this point, repair usually isn’t cost-effective. Most thermostats are replaced rather than repaired, since the cost of a new unit is often comparable to or lower than a service call for component-level repair.
Before purchasing a replacement, note your HVAC system’s wiring configuration — specifically how many wires you have and whether a C-wire is present. This will determine which thermostat models are compatible with your setup and save you from running into the same display issue again after installation.
Making sure the problem doesn’t come back
Once your thermostat display is back up and running, a few simple habits can prevent the same issue from repeating. Replace batteries on a set schedule — once a year, or at the first low-battery indicator — rather than waiting for the display to fail. Keep the area around your thermostat free from drafts, moisture, and direct sunlight, as extreme temperature fluctuations can stress both the display and internal electronics over time.
For smart thermostats, keep the firmware updated. Manufacturers regularly push patches that fix display bugs, improve touch sensitivity, and resolve connectivity problems. It takes two minutes and often prevents hours of troubleshooting down the road. Treat your thermostat as the small but critical control center it actually is — and it will reward you with years of reliable, visible performance.