A table that rocks with every touch is more than just annoying — it puts stress on joints, scratches floors, and can eventually fall apart entirely. Learning how to fix a wobbly wooden table is one of those practical skills that takes under an hour but can extend the life of a piece of furniture by years. And in most cases, you don’t need any special tools or professional help to get it done right.
Why wooden tables become unstable in the first place
Before grabbing any tools, it helps to understand what’s actually causing the wobble. Wood is a living material — it expands in humidity and contracts in dry conditions. Over time, this natural movement loosens joints, warps legs, and weakens the structural connections that hold a table together. Add in daily use, heavy loads, and the occasional bump, and it’s no surprise that even well-made tables eventually develop a shake.
The most common culprits behind an unsteady table are uneven leg length, dried-out or cracked glue inside mortise-and-tenon joints, loose screws in corner brackets, and worn felt pads that have compressed unevenly. Identifying the source accurately saves you time and makes sure you’re solving the actual problem rather than masking it.
Start with a surface check before anything else
Here’s something many people skip: before assuming the table is the problem, place it on a known flat surface. Sometimes what feels like a wobbly table is actually a slightly uneven floor. You can check this by placing a level on the tabletop and then moving the table to a different spot. If the wobble disappears, the floor is to blame — not the furniture.
If the wobble follows the table wherever it goes, then it’s time to look closer. Flip the table upside down on a soft surface like a carpet or moving blanket. This gives you a clear view of the leg structure, corner joints, and any visible damage. Good lighting makes a big difference here.
The most effective repair methods, ranked by complexity
Not every fix requires the same level of effort. Here’s a breakdown of approaches from simplest to more involved:
| Problem | Solution | Difficulty |
|---|---|---|
| Uneven leg length | Adjustable furniture feet or felt pads | Easy |
| Loose corner brackets | Tighten or replace screws | Easy |
| Loose glued joints | Re-glue with wood glue and clamp | Moderate |
| Cracked or broken tenon | Remove, repair, and refit the joint | Advanced |
| Warped or twisted leg | Replace the leg entirely | Advanced |
Re-gluing loose joints: the step-by-step approach
Loose joints are responsible for the majority of wobbly wooden tables, especially in older furniture. The fix is straightforward if you work carefully and give the glue enough time to cure.
- Disassemble the affected joint if possible — pulling it apart gently rather than forcing it
- Clean out all old dried glue using a chisel, sandpaper, or a small wire brush
- Apply fresh wood glue evenly to both surfaces of the joint
- Reassemble and clamp firmly — bar clamps or band clamps work well for table legs
- Wipe away any excess glue immediately with a damp cloth
- Leave it clamped for at least 24 hours before putting any weight on the table
One thing worth noting: yellow PVA wood glue is the standard choice for most indoor furniture repairs. It bonds well to porous wood surfaces and sands cleanly once dry. For joints under higher stress, a two-part epoxy adhesive can offer greater long-term durability.
Rushing the drying time is the single most common reason a glued joint fails again within weeks. The clamps stay on until the glue is fully cured — not just dry to the touch.
Fixing uneven legs without replacing them
Sometimes a table wobbles not because of joint failure but simply because one leg is slightly shorter than the others — or because the floor contact has worn down unevenly over time. This is one of the easiest problems to fix.
Adjustable furniture levelers are threaded feet that screw into the bottom of each leg. They let you raise or lower each leg independently until the table sits perfectly flat. They’re inexpensive, widely available in hardware stores, and work on most table leg styles. For a less permanent solution, self-adhesive felt pads of different thicknesses can be stacked under a shorter leg to compensate for the difference.
If you want a cleaner look, you can also sand down the longer legs rather than building up the shorter one. Place the table on a flat surface, identify which leg is too long by measuring the gap under the other legs, mark the amount to remove, and sand evenly. This method requires a bit more precision but gives a clean, furniture-grade result.
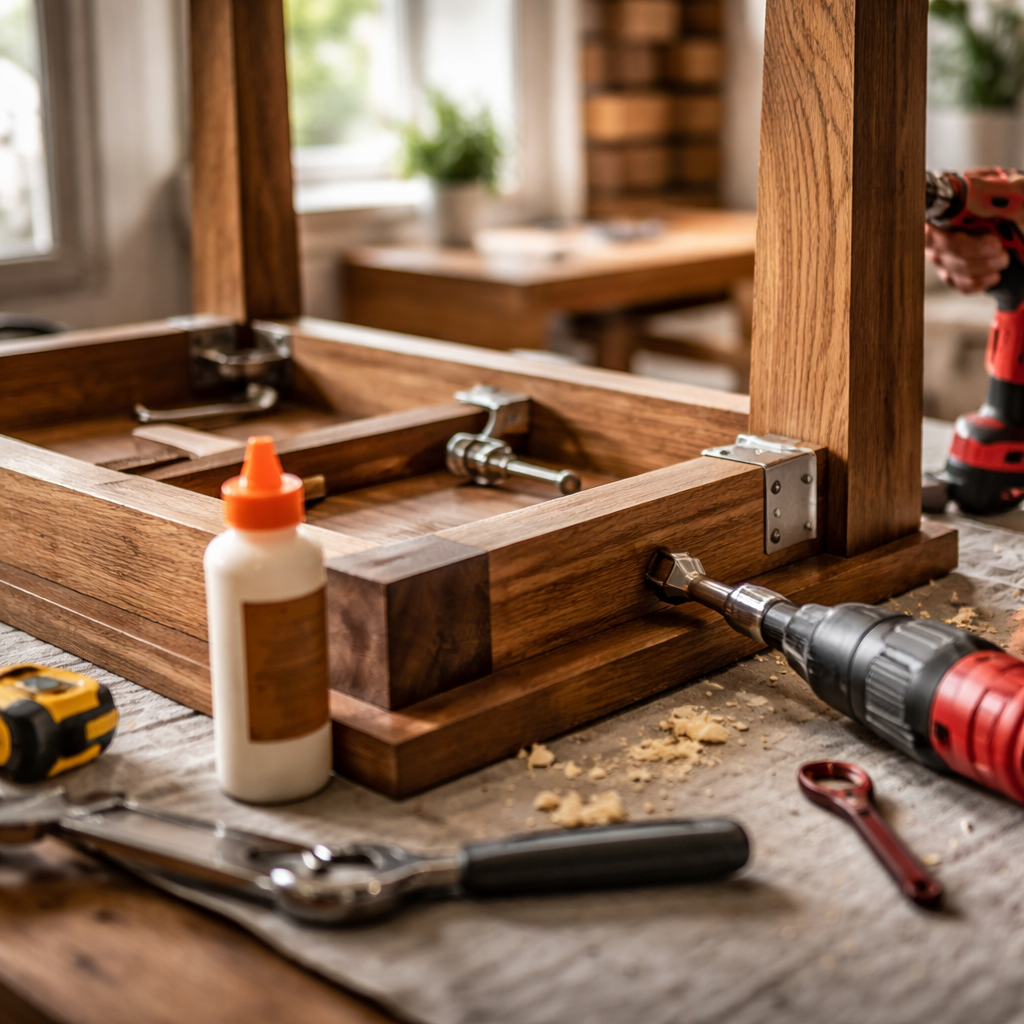
Corner brackets and metal hardware worth checking
Many modern wooden tables use metal corner brackets or wooden corner blocks to reinforce the connection between the legs and the apron — the horizontal frame that runs between the legs just below the tabletop. These brackets can loosen over time as screws back out of the wood, especially in softer timber.
The fix is usually simple: tighten every screw with a screwdriver. If the screw holes have become stripped and won’t grip, there are two reliable options. The first is to fill the hole with wooden toothpicks and wood glue, let it dry, then drive the screw back in — the toothpicks give the threads something to bite into again. The second option is to use slightly longer or wider screws to reach fresh wood material.
When the wobble keeps coming back
If you’ve tightened the brackets, re-glued the joints, and leveled the legs — yet the table still shakes after a few weeks — the issue is likely structural. A leg that has a hidden crack running along the grain, or a mortise that has widened beyond what glue can fill, may need more serious attention.
In these cases, adding a wooden corner block is a practical reinforcement. Cut a triangular block from hardwood, apply glue to both contact faces, press it into the inside corner where a leg meets the apron, and screw it into place. These blocks dramatically increase rigidity and are the same technique used in quality furniture manufacturing. You can also add metal angle brackets on the inside of each leg-apron junction for additional support without affecting the visible appearance of the table.
For a table with significant structural damage — warped legs, multiple cracked joints, or a split apron — the honest assessment is whether the repair cost in time and materials still makes sense. Antique or sentimental pieces are always worth repairing. For budget flat-pack furniture, sometimes a targeted repair holds things together perfectly well for many more years of use.
The table is steady — now keep it that way
Maintenance habits make a real difference in how long a wooden table stays solid. Avoid exposing it to extreme moisture changes — keeping it away from radiators, drafts, and direct sunlight slows the wood movement that loosens joints over time. Using coasters and placemats reduces surface stress, and periodically checking that all screws are snug takes less than two minutes.
If the table lives in a particularly dry environment, a humidifier in the room can reduce the seasonal shrinkage that pulls joints apart. For outdoor or semi-outdoor wooden tables, applying a wood sealer periodically prevents moisture from penetrating the grain and weakening the structure from within.
Taking care of wooden furniture doesn’t require expertise — just a little attention at the right moments. Most tables that end up discarded could have been saved with a tube of wood glue and thirty minutes of focused work. The skills you build fixing one wobbly table transfer directly to chairs, shelves, and just about any other wood furniture you own.