Most succulents die not from neglect, but from too much care — and knowing how to plant a succulent correctly from the very start makes all the difference between a thriving plant and a rotting one. The good news is that once you understand what these plants actually need, the whole process becomes genuinely satisfying and almost foolproof.
Choosing the right container and drainage
Before you even think about soil, look at your pot. Drainage is non-negotiable for succulents. A container without a drainage hole traps moisture at the root zone, which is the number one cause of root rot in these plants.
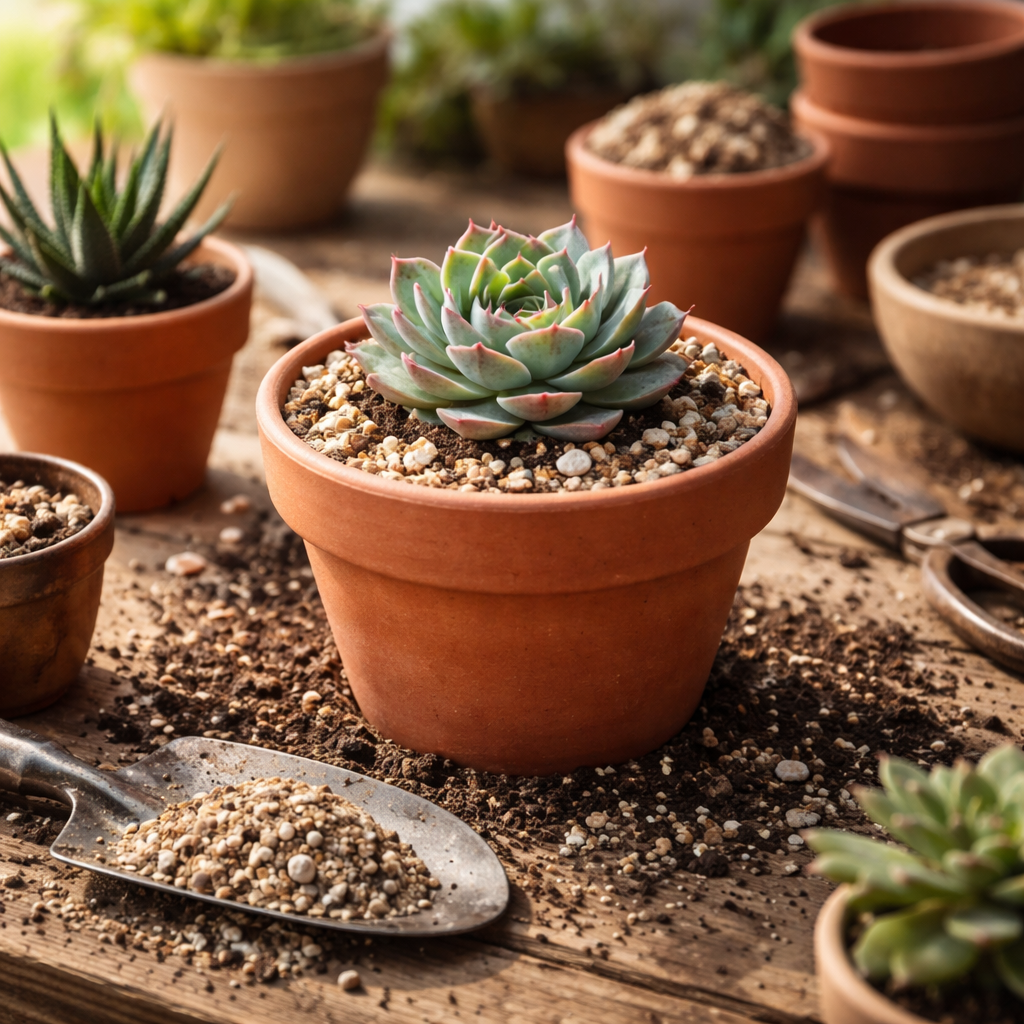
Terracotta pots are a popular and practical choice — they’re porous, which means excess moisture evaporates through the walls. Ceramic and plastic pots work too, as long as they have at least one hole at the bottom. Avoid glass containers like terrariums for long-term planting unless you’re very experienced with watering discipline.
- Terracotta: breathable, affordable, great for beginners
- Unglazed ceramic: similar benefits to terracotta
- Plastic with drainage holes: lightweight, retains slightly more moisture
- Glazed ceramic: works well but dries slower — water less frequently
The soil mix that actually works
Standard potting soil is too dense and holds too much water for succulents. You need a gritty, well-draining mix that mimics the rocky or sandy environments these plants naturally grow in.
You can buy pre-made cactus and succulent soil from most garden centers, but many growers prefer to amend it further. A reliable approach is to mix regular cactus soil with perlite or coarse sand in roughly a 1:1 ratio. This improves aeration and drainage significantly.
A good succulent mix should feel gritty in your hand, not soft and fluffy. If it clumps together when wet, it holds too much water.
Avoid beach sand or fine play sand — the particles are too small and can actually compact over time, reducing drainage rather than improving it. Coarse horticultural sand or poultry grit are better alternatives.
Step-by-step planting process
Once your pot and soil are ready, the actual planting is straightforward. Here’s how to do it properly without stressing the plant.
- Add a layer of your soil mix to the bottom of the pot — about one third of the container’s depth.
- Remove the succulent from its nursery container gently. If roots are tightly wound, loosen them slightly with your fingers.
- Check the roots for any signs of rot (dark, mushy sections). If present, trim them off with clean scissors and let the plant dry for a day or two before planting.
- Position the plant in the center of the pot, making sure the base of the plant sits slightly below the rim of the container.
- Fill in around the roots with your soil mix, pressing lightly to eliminate air pockets — but don’t pack it down hard.
- Leave about a centimeter of space between the soil surface and the pot rim to make watering easier.
- Add a thin layer of decorative gravel or small stones on top if you like — this helps prevent soil splash and adds visual appeal.
After planting, resist the urge to water immediately. Give the plant 2–3 days to settle and let any disturbed roots recover before introducing moisture.
Light, watering, and the most common mistakes
Succulents need bright light to thrive. A south- or east-facing windowsill typically works well for indoor plants. If natural light is limited, a grow light can supplement effectively. Outdoors, most succulents do well in full sun to partial shade, depending on the species.
| Condition | What succulents prefer | Signs of problems |
|---|---|---|
| Light | Bright indirect to direct sunlight | Etiolation (stretching toward light) |
| Watering | Deep watering, then dry out completely | Mushy leaves = overwatering |
| Temperature | 65–80°F (18–27°C) for most varieties | Wrinkled leaves in cold drafts |
| Humidity | Low to moderate | Fungal issues in high humidity |
The “soak and dry” watering method is widely recommended for succulents: water thoroughly until it drains from the bottom, then wait until the soil is completely dry before watering again. In warmer months this might mean every 7–10 days; in winter, once every 3–4 weeks is often enough.
What to do after the first few weeks
Once your succulent is established — usually after 3–4 weeks — it will start showing new growth, which is a good sign the roots have taken hold. At this point you can begin a light fertilizing routine if you want to encourage faster growth. Use a balanced, diluted liquid fertilizer formulated for cacti and succulents, applied once a month during the active growing season.
Repotting is something to consider when you notice roots coming out of the drainage holes or when growth has visibly slowed despite good care. Most succulents benefit from moving to a slightly larger container every couple of years. Choose a pot that’s only one or two sizes bigger — going too large increases the risk of overwatering since there’s too much wet soil around the roots.
Propagation is one of the most rewarding parts of keeping succulents. Many species can be multiplied easily from leaf cuttings or offsets. Simply remove a healthy leaf, let it callous over for a few days, then place it on top of moist succulent soil. In a few weeks, tiny roots and rosettes begin to form — no special equipment required.
Picking the right succulent for your space
Not all succulents behave the same way, and matching the plant to your actual environment saves a lot of frustration. If your space gets limited light, haworthias and gasteria are more forgiving than echeverias or sedums, which really need strong sun to maintain their color and compact form.
For beginners, a few species stand out as particularly reliable: Echeveria (rosette-forming, wide variety of colors), Haworthia (tolerates lower light well), Sedum (fast-growing and very hardy), and Crassula ovata — commonly known as the jade plant — which can live for decades with minimal fuss.
The beauty of starting with succulents is that the learning curve is gentle. Each plant teaches you something — about light, about water, about timing. And once you’ve successfully established even one healthy succulent, you’ll find the whole process feels much more intuitive the next time around.