You press the button, wait a few seconds, and… nothing. No steam, no heat, or the iron leaves water stains on your favorite shirt instead of smoothing it. If your steam iron not working is turning a simple chore into a frustrating puzzle, the good news is that most common issues have straightforward fixes — and you likely won’t need a repair shop for any of them.
Why irons fail: the most common culprits
Steam irons are relatively simple appliances, but they combine water, heat, and electrical components — a trio that creates several potential failure points. Before assuming the worst, it helps to understand what typically goes wrong and why.
The majority of iron problems fall into a few recurring categories: mineral buildup inside the steam system, clogged steam vents, water tank issues, or thermostat malfunctions. Each of these has distinct symptoms, which makes diagnosing your specific problem much easier than it might first appear.
No steam coming out — here’s what to check first
This is the most common complaint, and it almost always points to one of two things: either the water tank is empty or below the minimum fill line, or limescale has built up and blocked the steam channels. Hard water is particularly problematic — over time, mineral deposits accumulate inside the boiler and vents, restricting or completely stopping steam flow.
Limescale is the silent killer of steam irons. A thin layer of mineral deposit inside the steam chamber can reduce steam output by over 50% — and most users don’t notice it happening gradually.
Most modern irons have a self-clean or anti-calc function specifically for this issue. To use it, fill the tank with clean water, set the iron to its highest temperature, hold it over a sink, and activate the self-clean mode. The burst of steam and water will flush out accumulated deposits. For heavily scaled irons, a solution of equal parts white vinegar and distilled water can be run through the tank — though always check your manufacturer’s guidelines first, as some models advise against vinegar.
Water leaking from the soleplate instead of steaming
If your iron is spitting or dripping water rather than producing steam, the temperature is most likely too low. Steam requires a specific heat threshold to form properly — if the soleplate hasn’t reached that temperature yet, liquid water passes through the vents unvaporized.
The fix here is simple: wait longer after switching the iron on, and make sure you’re using a steam setting appropriate for the fabric you’re ironing. Using the steam function on a low-temperature setting for delicates is a common mistake that leads to water dripping directly onto clothing.
| Symptom | Likely cause | Quick fix |
|---|---|---|
| No steam output | Empty tank or limescale blockage | Refill or run self-clean cycle |
| Water dripping from soleplate | Temperature too low for steam | Wait for full heat-up, adjust setting |
| Iron not heating at all | Faulty thermostat or power issue | Check cord, outlet, and thermostat |
| Brown stains on clothes | Dirty soleplate or burnt deposits in tank | Clean soleplate and descale the tank |
| Uneven steam bursts | Partial limescale blockage | Descale and clean steam vents |
The iron won’t heat up at all
A completely cold iron is a different problem entirely. Start with the obvious: check whether the power cord is properly connected and whether the outlet is working — plug in another device to confirm. If the outlet is fine, inspect the cord itself for any visible damage or fraying near the plug or the iron’s base.
Many irons also have an automatic shut-off feature that activates when the appliance is left stationary for too long. Simply picking up the iron and moving it should reactivate heating. If none of these steps work, the thermostat or internal heating element may have failed — at that point, professional repair or replacement becomes the practical route.
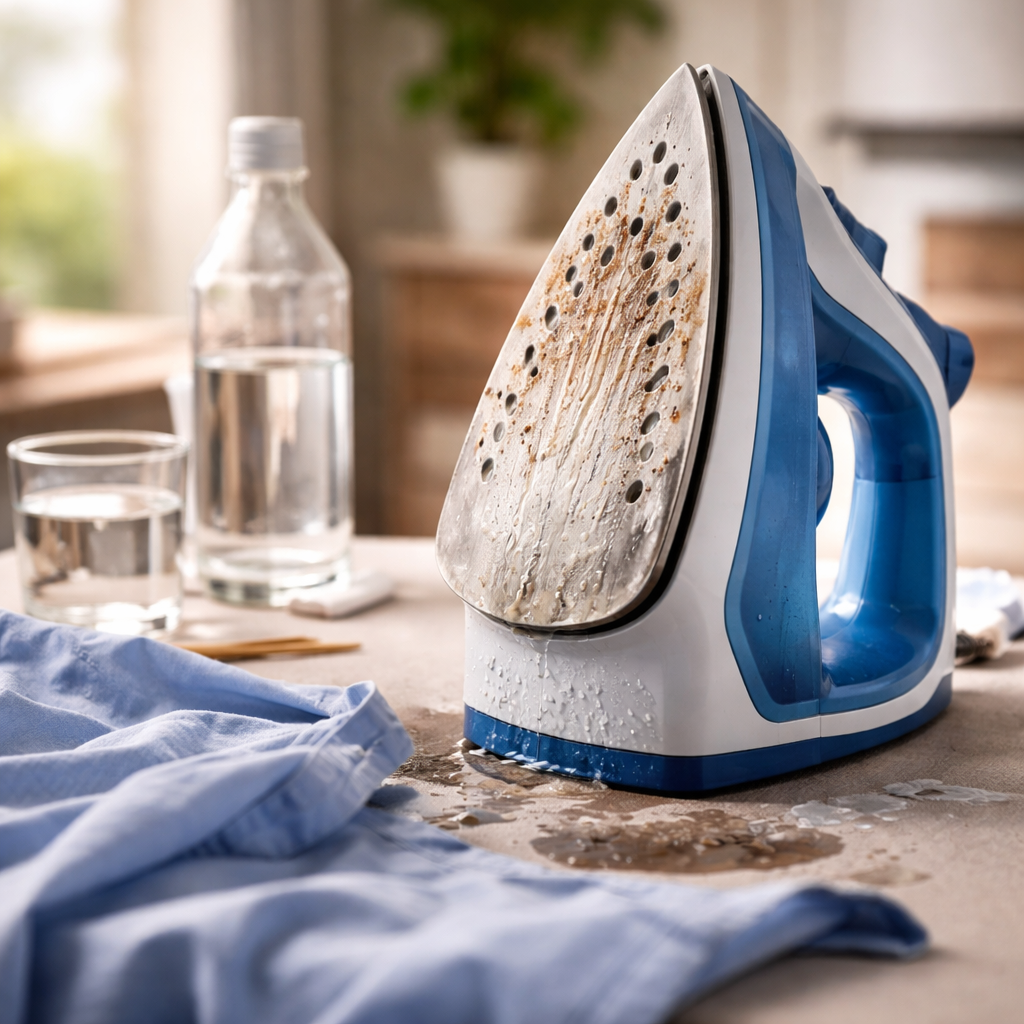
Brown or yellow stains transferring onto clothes
Few things are more disheartening than finishing your ironing only to find brown streaks on a clean white shirt. This typically happens for one of two reasons: a dirty or burnt soleplate, or discolored water being expelled from a neglected tank.
For soleplate cleaning, let the iron cool completely first. A paste of baking soda and water applied with a soft cloth works well on light residue. For stubborn burnt-on marks, commercial soleplate cleaners are effective and safe for most surfaces. Avoid abrasive scrubbers, which can scratch non-stick coatings.
If the staining is coming from inside the water tank, it’s a sign that old water has been sitting in the iron and potentially grown mold or rust-like deposits. Empty the tank after each use and run a descaling cycle — this alone prevents the majority of staining issues.
Steam vents clogged? Here’s how to clear them
Blocked steam holes on the soleplate are a direct result of mineral buildup and can cause uneven ironing, reduced steam, or water spitting. Clearing them is a straightforward process:
- Let the iron cool and unplug it completely before touching the soleplate.
- Dip a cotton swab in white vinegar and gently work it into each steam vent opening.
- Use a toothpick to carefully dislodge any solid deposits — never use metal objects that could scratch or damage the holes.
- Fill the tank with clean water and run a short steam burst to flush out loosened debris.
- Wipe the soleplate with a damp cloth and repeat the steam flush if necessary.
Doing this every few months as preventive maintenance — rather than waiting until steam output drops — keeps your iron performing consistently without requiring deeper interventions.
When it’s time to stop fixing and start replacing
Most steam iron problems are fixable with patience and a bit of know-how. But there are situations where repair simply doesn’t make financial sense. If the internal heating element has failed, the thermostat is broken, or there’s visible damage to internal wiring, the cost of professional repair often rivals or exceeds the price of a new mid-range iron.
A good rule of thumb: if your iron is more than five to seven years old and has developed multiple issues at once — poor steam output, inconsistent heating, and leaking — it’s usually more practical to replace it. Newer models are also significantly more energy-efficient and include better anti-calc systems, meaning you’ll spend less time troubleshooting going forward.
That said, don’t rush to that decision. Work through the diagnostics above systematically — most people are surprised to find that a thorough descaling session and a clean soleplate are all it takes to bring an iron back to full performance.