Most scrapbooks end up looking the same — generic layouts, predictable color schemes, and photos that could belong to anyone. But ideas for a personalized scrapbook can completely change that dynamic, turning a simple album into something that genuinely reflects a person, a relationship, or a moment in time that deserves more than a standard frame.
Why personalization is the whole point
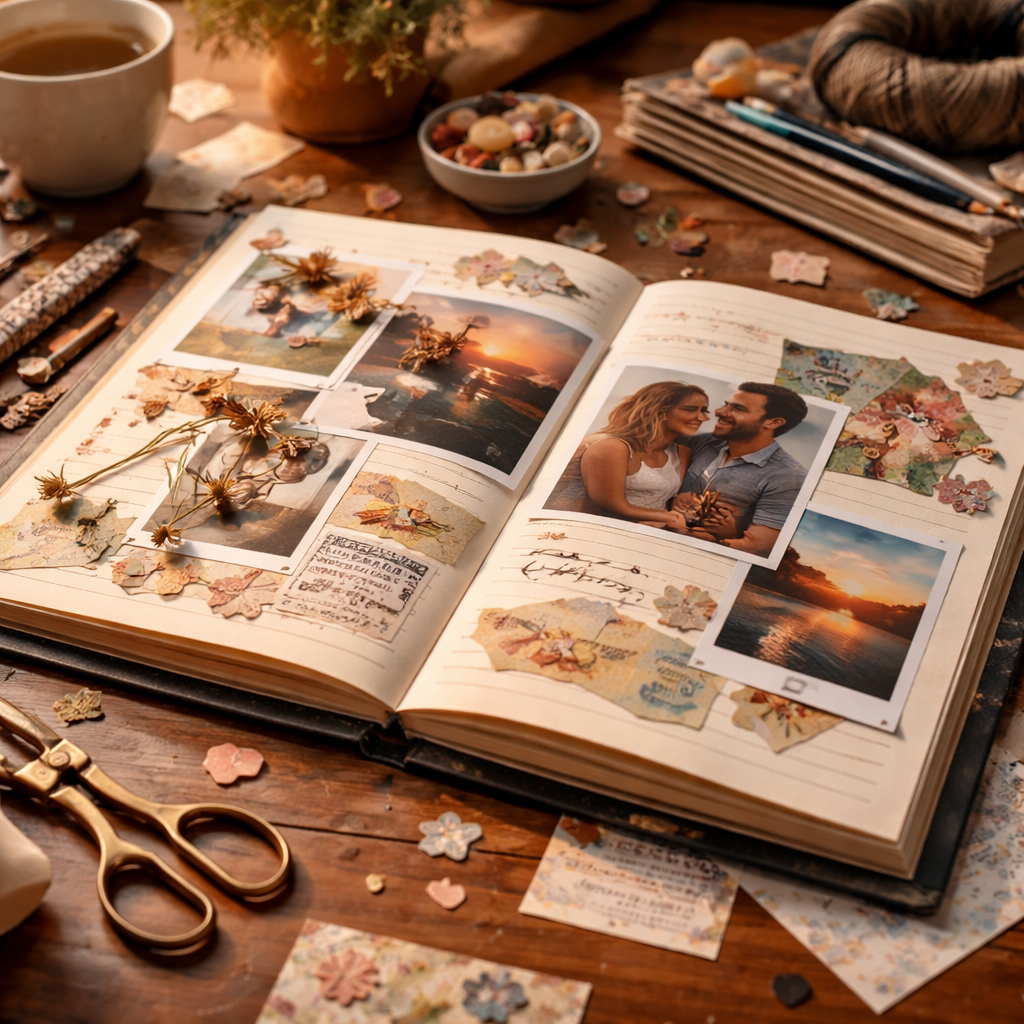
A scrapbook without a personal touch is just a photo album with extra steps. The real value of this craft lies in the details that only you — or someone close to the recipient — would know to include. The inside joke written in tiny handwriting at the corner of a page. The ticket stub from a concert neither of you planned to attend. The pressed flower from a walk that turned into a three-hour conversation.
Personalization doesn’t mean complicated. It means intentional. And that distinction changes how you approach every single page.
Theme-first approach: building around a clear concept
Before you buy a single piece of patterned paper or decorative tape, settle on a theme. Not just “our friendship” or “this trip” — go deeper. A theme gives you a filter for every creative decision that follows.
Here are theme directions that tend to produce genuinely meaningful results:
- A single year in someone’s life, documented month by month with handwritten captions
- A relationship timeline — from the first meeting to the present, with artifacts at each milestone
- A “love language” book built around acts of service, shared experiences, or meaningful words
- A travel scrapbook organized not by destination but by mood or discovery type
- A legacy book made for a grandparent, preserving their stories alongside old photographs
- A pregnancy or baby scrapbook that captures the emotional arc, not just the milestones
Each of these themes naturally suggests what to include and, just as importantly, what to leave out.
Materials that make a difference
The physical feel of a scrapbook contributes to how it’s experienced. Choosing materials that match the emotional tone of your theme adds a layer of coherence that people notice even if they can’t articulate why.
| Material | Best used for | Emotional tone |
|---|---|---|
| Kraft paper | Travel, adventure, outdoor themes | Rustic, grounded |
| Vellum overlays | Romantic or delicate subjects | Soft, layered, nostalgic |
| Black cardstock | Bold portraits, milestone events | Dramatic, timeless |
| Watercolor paper | Artistic or creative-themed books | Expressive, handmade |
| Newsprint-style pages | Documenting everyday life or humor | Casual, authentic |
What to include beyond photos
Photos are the backbone, but they rarely tell the full story on their own. The most memorable scrapbook pages tend to layer visual and written elements together in a way that creates context.
A photo shows what happened. The handwritten note beside it explains why it mattered.
Consider adding these types of content alongside your images:
- Handwritten letters or notes — even short ones carry more warmth than printed text
- Printed screenshots of meaningful text messages or social media posts
- Receipts, packaging labels, or wrappers from significant moments
- Maps with routes traced or locations marked by hand
- Fabric swatches from clothing worn during important events
- Printed song lyrics that connect to a specific memory
- Stamps, stickers, or washi tape chosen to match the mood of each spread
Layout ideas that break away from the grid
One of the most common mistakes in scrapbooking is defaulting to symmetrical, evenly spaced layouts. While there’s nothing wrong with clean design, rigid grids can make pages feel formal when the content itself is personal and spontaneous.
Try these layout approaches for pages that feel more alive:
- Overlapping photos at slight angles, as if they were pulled from a drawer and placed naturally
- One full-bleed image as a background with smaller elements layered on top
- A central handwritten quote with photos arranged around it rather than in rows
- A “pocket page” layout using folded paper envelopes to hold hidden notes or extra photos
- A timeline strip running horizontally across a two-page spread
Making it meaningful for the person receiving it
If you’re creating a scrapbook as a gift, shift your perspective from “what do I want to make” to “what does this person actually value.” Some people treasure humor and will love a page that captures embarrassing moments with affectionate captions. Others respond more to sincerity and would be moved by a page of written reasons you admire them.
Think about how they tell stories. Do they focus on sensory details — what something smelled like, how cold it was? Include descriptive captions that match that way of remembering. Do they always talk about people rather than places? Make sure faces, not landscapes, anchor your most prominent pages.
A scrapbook that reflects the recipient’s personality — rather than the maker’s aesthetic preferences — is the one that gets kept on the shelf and shown to others years later.
Where to start when you’re feeling overwhelmed
The sheer number of options in scrapbooking can make the blank first page feel intimidating. The simplest solution is to start with your favorite photo from whatever collection you’re working with. Don’t start at the beginning chronologically — start with the image that makes you feel something immediately. Build the first page around that, and the rest of the book will follow more naturally than you expect.
Gather your materials before you sit down to create. Having everything visible and accessible — papers, pens, adhesives, embellishments — removes the interruption of searching and keeps the creative momentum going. Many experienced scrapbookers recommend dedicated sorting sessions separate from actual layout sessions, treating them as distinct creative phases.
The process doesn’t need to be perfect or finished quickly. Some of the most treasured handmade books are ones that were added to slowly over months, with each page reflecting the mood and care of a particular afternoon.