Most people who decide to learn how to build a simple wooden shelf end up surprised by one thing: it takes far less time, money, and skill than they expected. A basic wall-mounted shelf can be completed in a single afternoon with a handful of common tools — and the result is something genuinely useful that lasts for years.
What you actually need before you start
Before cutting a single board, it helps to think through what the shelf is for. A shelf holding books behaves differently under load than one storing lightweight decorative items. The wood species, bracket strength, and wall anchoring all depend on this one simple question: what will sit on it?
For a beginner-friendly build, pine or poplar are the most practical choices. They’re affordable, widely available at hardware stores, easy to cut, and take paint or stain well. Hardwoods like oak look beautiful but cost more and require sharper tools to work cleanly.
Basic materials checklist
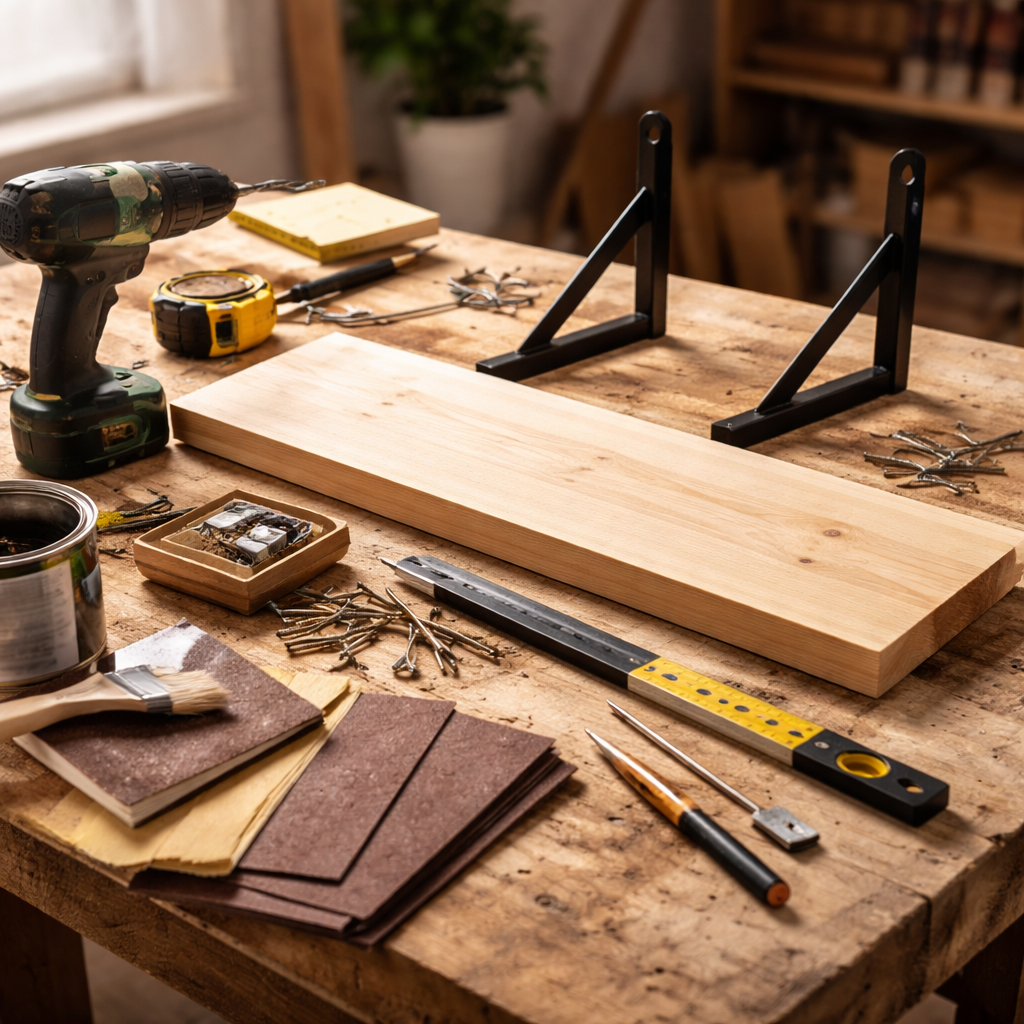
- One plank of pine or poplar (typically 1×8 or 1×10 inches, cut to your desired length)
- Two wooden or metal shelf brackets rated for the expected load
- Wall anchors and screws appropriate for your wall type (drywall, plaster, or masonry)
- Sandpaper — 80 grit and 120 grit
- Wood stain, paint, or clear varnish
- A level, pencil, drill, and measuring tape
That’s genuinely the full list for a standard single-board shelf. No joinery, no complex cuts, no special workshop required.
Preparing the wood the right way
Raw lumber from a store often has rough edges, minor surface marks, or slight warping. Spending ten minutes on preparation makes a visible difference in the final result. Start by sanding the face and edges with 80-grit sandpaper to remove any roughness, then finish with 120-grit for a smooth surface that accepts finish evenly.
Always sand in the direction of the wood grain, never across it. Cross-grain scratches become very visible once stain or varnish is applied.
If the board has any slight bow to it, check which face curves upward — mount the shelf with that face up, so the weight of objects naturally presses the bow flat rather than amplifying it over time.
Marking and mounting the brackets on the wall
This is the step where most DIY shelves go wrong — not because it’s technically difficult, but because people skip the level. A shelf that looks slightly tilted draws the eye immediately and never stops being noticeable.
Start by deciding the shelf height and marking a light pencil line on the wall. Use a spirit level or a level app on your phone to confirm the line is truly horizontal. Mark the bracket positions along that line, making sure the brackets sit close enough to the ends of the board to support it without overhang stress — generally no more than 4–6 inches from each end.
| Wall type | Recommended fixing | Notes |
|---|---|---|
| Drywall (no stud) | Hollow wall anchor | Max load around 10–15 kg per anchor |
| Drywall (into stud) | Wood screw directly into stud | Much stronger — preferred when possible |
| Plaster | Plaster anchor or stud fixing | Avoid standard plastic plugs in old plaster |
| Masonry or brick | Masonry drill bit + wall plug | Requires a hammer drill |
Drill pilot holes before driving screws — especially in wood — to prevent splitting. Once both brackets are fixed to the wall, lay the shelf board across them and check that it sits flat. Then screw up through the bracket holes into the underside of the board to secure everything together.
Finishing touches that make the difference
Raw wood left unfinished absorbs moisture, dust, and grease over time. A simple coat of varnish or wood stain takes under an hour and significantly extends the life of the shelf while improving how it looks in a room.
Water-based polyurethane is an excellent choice for most indoor shelves — it dries quickly, has low odor, and provides a durable surface. For a more natural look, an oil-based wood stain followed by a clear topcoat gives depth and warmth to the grain.
Apply finish before mounting if you want clean, even coverage on all sides. Trying to paint or stain a shelf that’s already on the wall is awkward and usually results in missed spots.
A few things worth knowing before you hang anything
- Let any finish cure fully before loading the shelf — usually 24 hours minimum for water-based finishes
- Distribute weight evenly across the board rather than concentrating heavy items in the center
- Check the screws and wall fixings after a few weeks — they can loosen slightly as the wall material settles
- If the shelf will hold anything particularly heavy (dense books, tools, equipment), add a third bracket in the middle for added support
From a single plank to something you’ll use every day
Building a wooden shelf by hand gives you something that store-bought furniture rarely does: something sized exactly for the space, finished in a way that suits the room, and built with enough understanding of the process to fix or adjust it if needed. The skills involved — measuring accurately, working with wood, anchoring safely into walls — carry over directly into more complex woodworking and home improvement projects.
Once the first shelf is up and holding weight, most people find themselves looking around the room for the next spot. That’s usually a good sign the project went well.